The USB-C Trap: Why Your Travel Photos Transfer So Slowly (and How to Fix It)
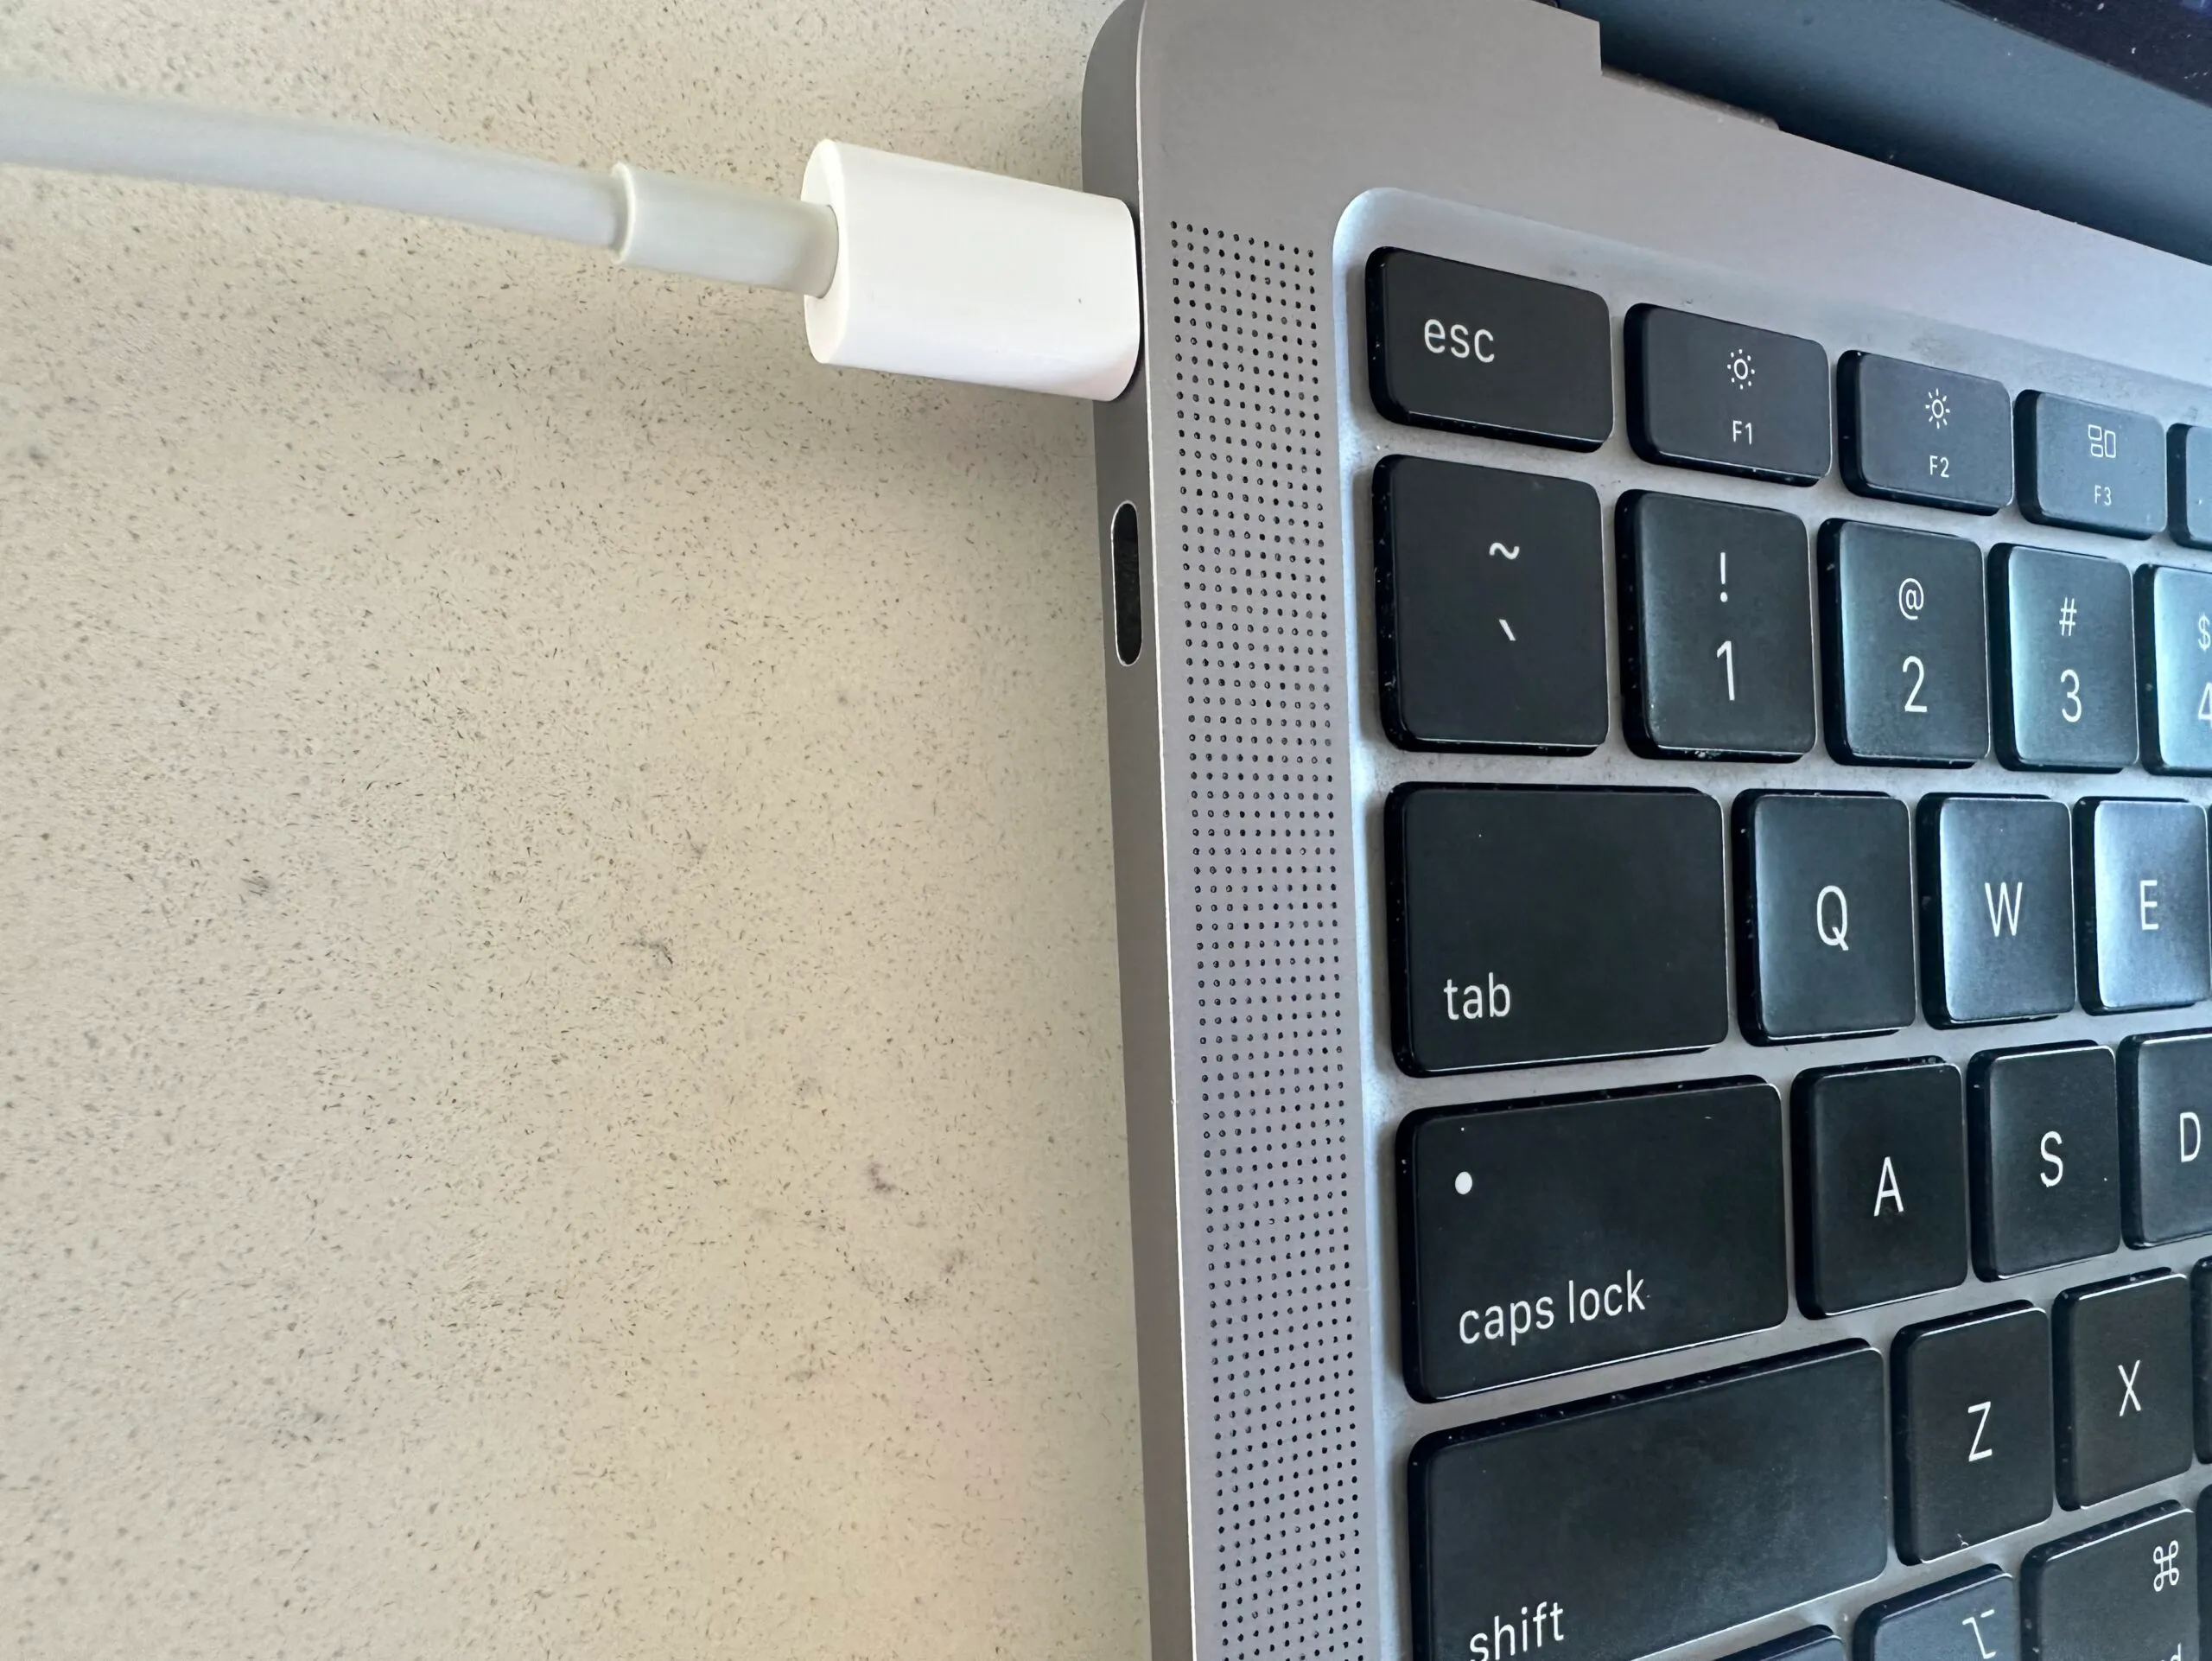
MacBook Air M1 with USB 2.0 C transfer cable
After asking too many times why my travel photos take forever to transfer from my camera to my laptop, I created a menu bar app to solve that exact problem. This article explains why and how a tiny menu bar app can save you hours you didn’t even realize you were wasting by finding your MacBook’s USB-C transfer speed.
CLICK TO DOWNLOAD ON THE MAC APP STORE
Short on time? Here’s the main takeaway
Not all USB cables can transfer or charge at the same speed. You can quickly identify your USB cable rates using USB Connection Information on Mac. With this information, it becomes easy to speed up your charging times and transfer rates (in my case, photo imports). This article dives into why and how, and recommends an improved USB-C cable if needed, based on the app’s output.
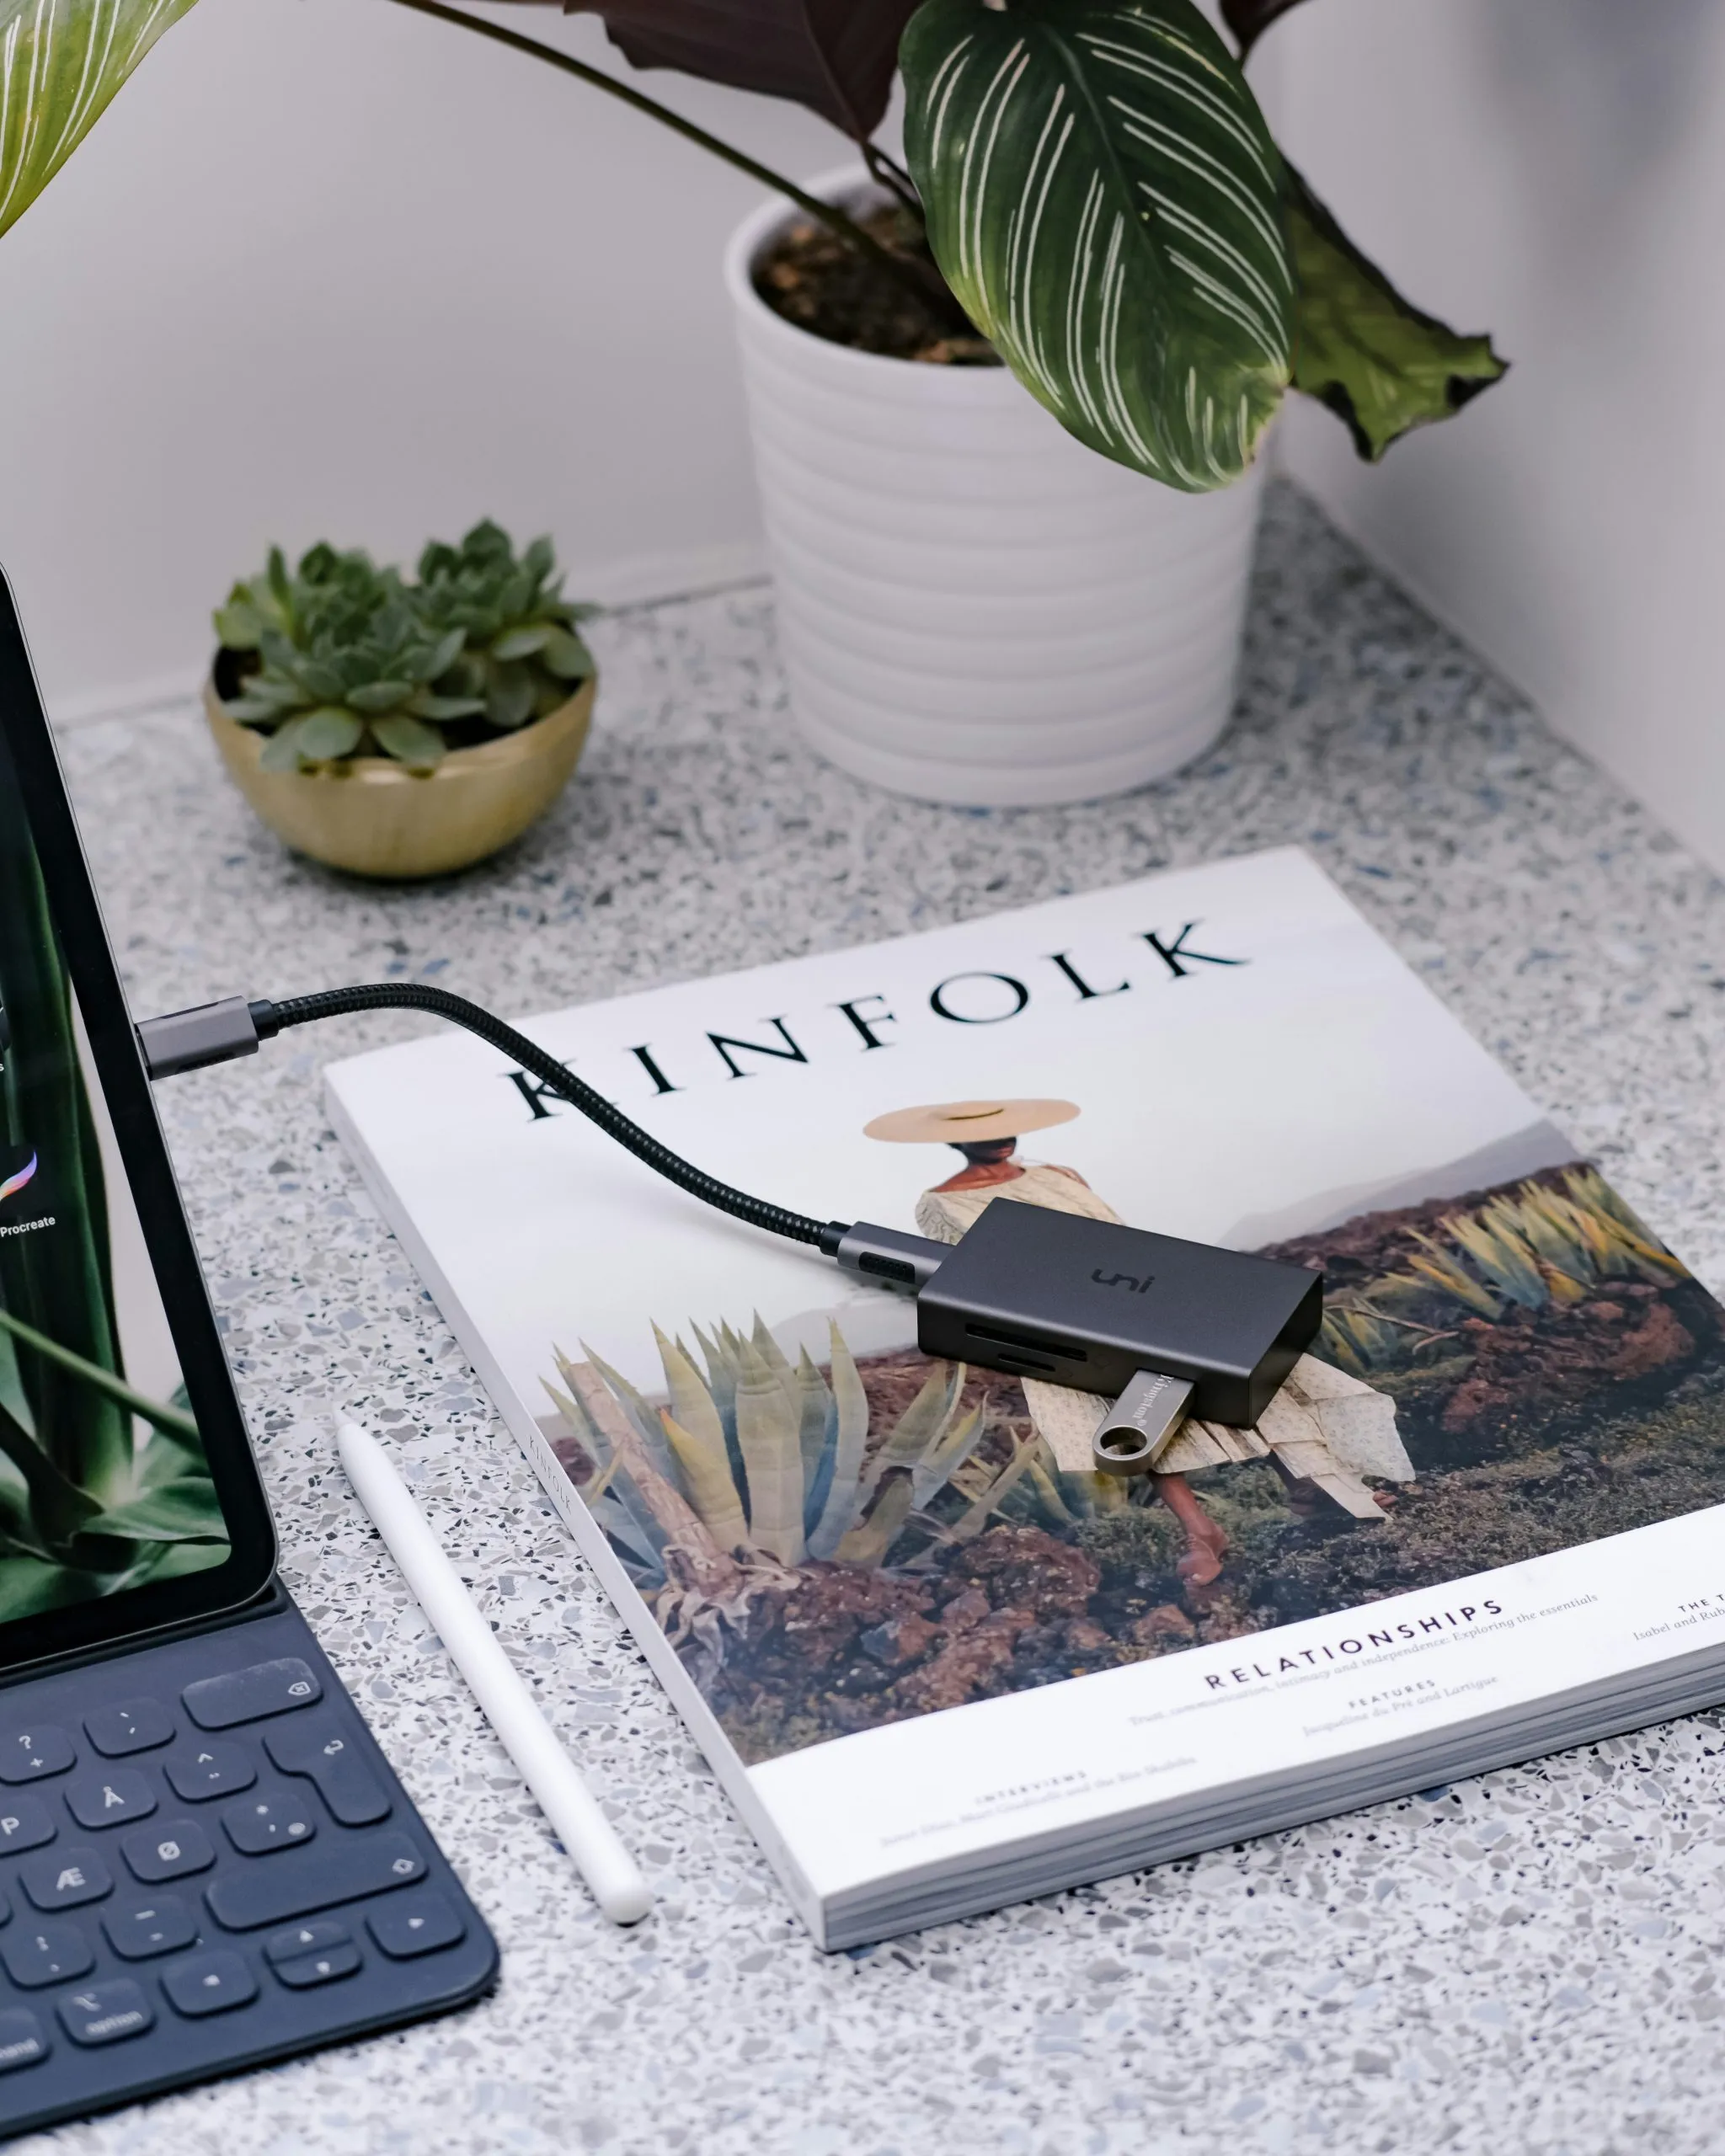
USB dock with USB flash drive connected
The Problem: Why Large File Transfers Take Forever
After a recent week in Iceland, I was very excited to get home and create a video recap as I usually do. I connected my camera to my MacBook Air and began copying over about 100GB of photos and videos.
I drag the files over, and…to my dismay…45 minutes remaining.
Suddenly, that creative spark is gone, replaced by a sluggish progress bar. I am wondering why my thousand-dollar laptop is performing like a desktop from 2010.
If you’ve experienced this, you’re not alone. Photographers, travelers, and professionals everywhere have felt that same frustration.
“Why is this so slow? My hardware’s top-tier. What gives?”
It turns out the problem isn’t your Mac. It’s something far sneakier, and sometimes invisible.
As a software engineer, I hate inefficient systems. While I am not the main character of this blog, you may have enjoyed my other technical deep-dives like Is Hotel Wifi Safe? Why I Never Use Hotel or Airbnb WiFi (And What To Do Instead) and Why Slower EV Charging Could Be the Key to Fast Electric Car Growth.
When I’m traveling, I want my tech to get out of the way so I can focus on the memories. But when a transfer takes an hour, the tech is the obstacle.
I went down the rabbit hole to find out why our “top-tier” gear feels so slow, and it turns out the villain isn’t your Mac or your camera.
It’s the USB cable.
The USB-C “Identity Crisis”
The move to USB-C was supposed to make our lives easier. One cable for everything, right?
Wrong**.**
Because every cable looks identical, companies often include the cheapest possible wiring in the box. Many “premium” cables are actually just USB 2.0, technology from the year 2000, hidden inside a modern USB-C shell. This includes the beautiful white cable that comes with modern iPhones and MacBooks!
The Country Road vs. The Superhighway: USB Transfer Speed Comparison
| USB Version | Analogy | Speed | 25GB Transfer |
|---|---|---|---|
| USB 2.0 | Dirt Road | 480 Mbps | ~15–20 min |
| USB 3.0 | Superhighway | 5-10 Gbps | ~2–5 min |
| USB 3.1/3.2/4.0 | Bullet Train | 10-40 Gbps | Under a minute |
If you’re using a “Dirt Road” cable to move a “Superhighway” amount of data (USB 2.0 vs USB 3.0 C cable speed), you’re losing hours of your life to a progress bar.
If you discover that your cable is slowing you down, this is the super cheap and super fast USB-C cable I recommend to improve your speeds. I have vetted this cable personally, and it is from a reputable brand and seller. You can purchase this without any worry or additional research.
The Hidden Bottleneck: The Three Places Transfer Speed Can Break
USB C Cables all look alike; typically, the cheaper ones are slower and thinner.
To get a good transfer, there needs to be a proper handshake. The following three components must support USB 3.0 or higher, or else you will be stuck with slower speeds:
1. Your Mac’s Port: The MacBook Air M1 supports USB 3.1 Gen 2 (up to 10Gbps) and USB4. The port is rarely the problem.
2. Your Device: If your SSD or camera is older, it might cap out at 5Gbps.
3. Your Cable: The “Villain.” Most stock cables (even Apple’s) are USB 2.0, which caps you at a measly 480 Mbps.
USB is backward compatible, so your Mac will happily connect everything, just sometimes at the lowest possible speed. No warning. No popup. It just quietly throttles your connection.
Why macOS Keeps You in the Dark
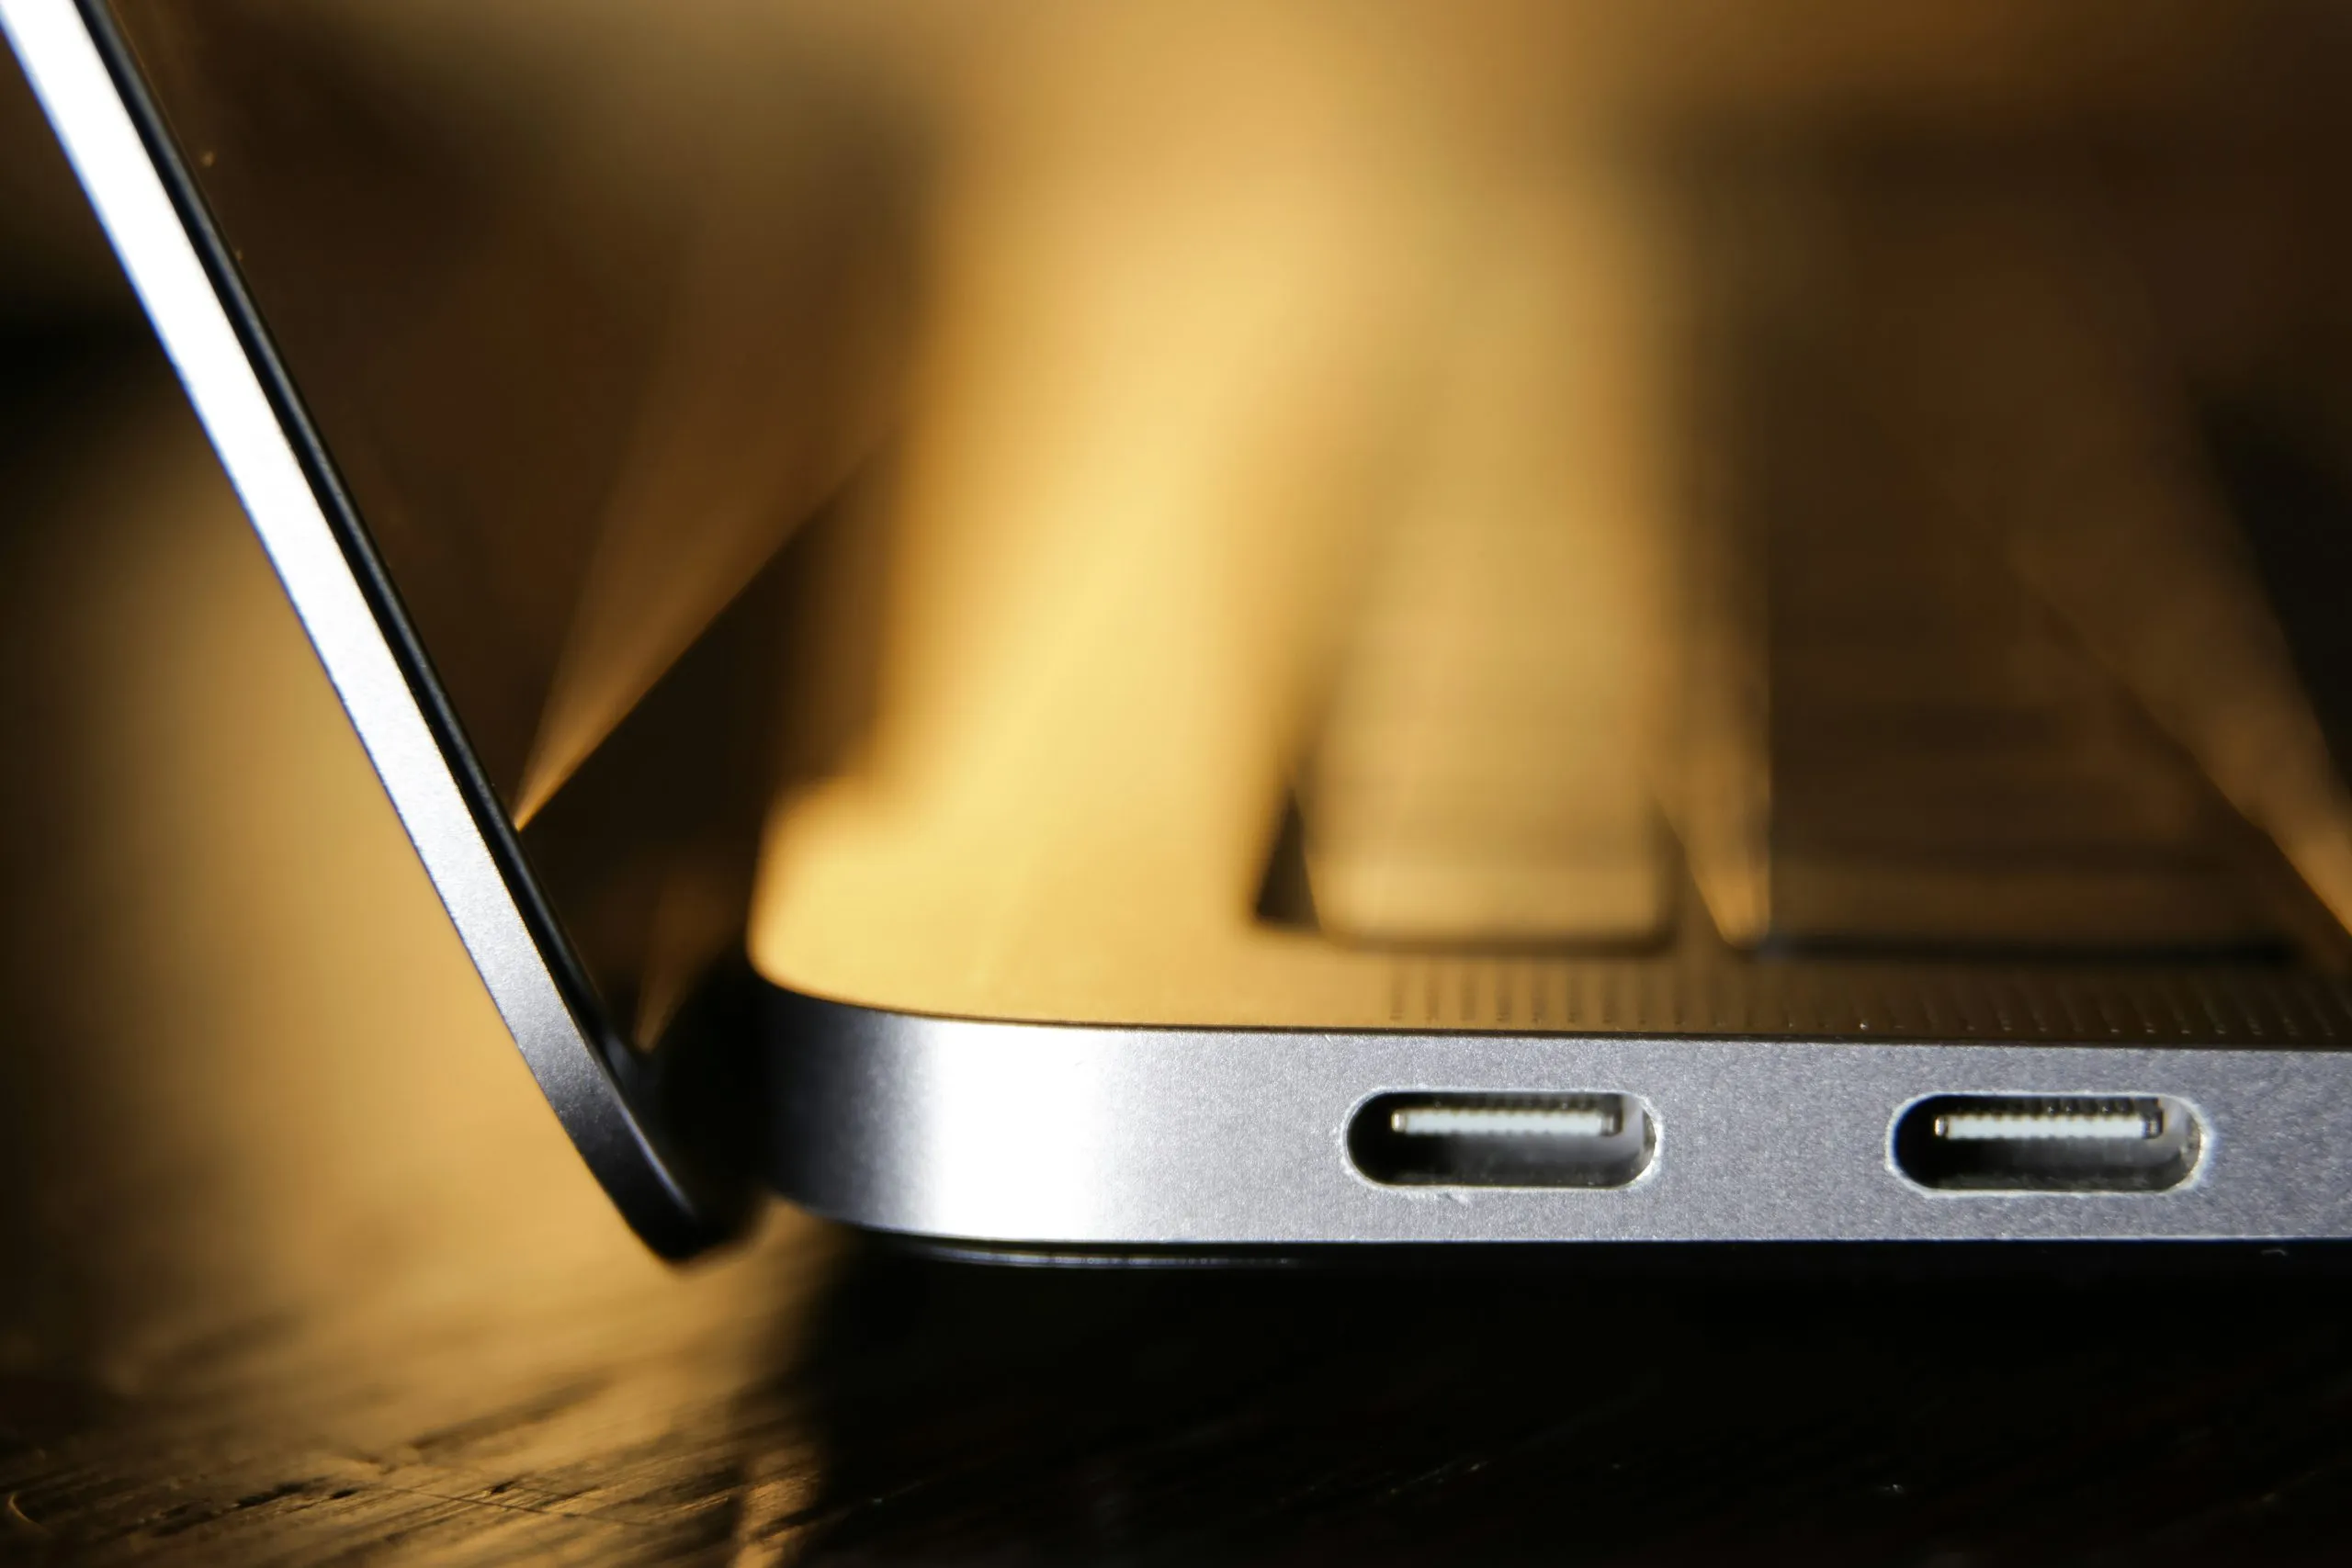
Both USB-C ports on a Mac support the same speed.
You’d think your Mac would tell you if you’re using a slow cable.
It doesn’t.
It will happily let you transfer data at 1/20th of the possible speed without a single warning.
To find your actual speed natively, you have to dig through the “System Information” menu (hidden behind an Option-click). This method is clunky, static, and frankly, a pain to use while you’re trying to be creative.
I Built a Solution: USB Connection Information
I was tired of “guessing” why my transfers were slow, so I built a tool to provide instant hardware honesty. This app is ****USB Connection Information.
It’s a lightweight Mac utility that lives in your menu bar and tells you exactly what’s happening the second you plug in a device.
How it saves your sanity
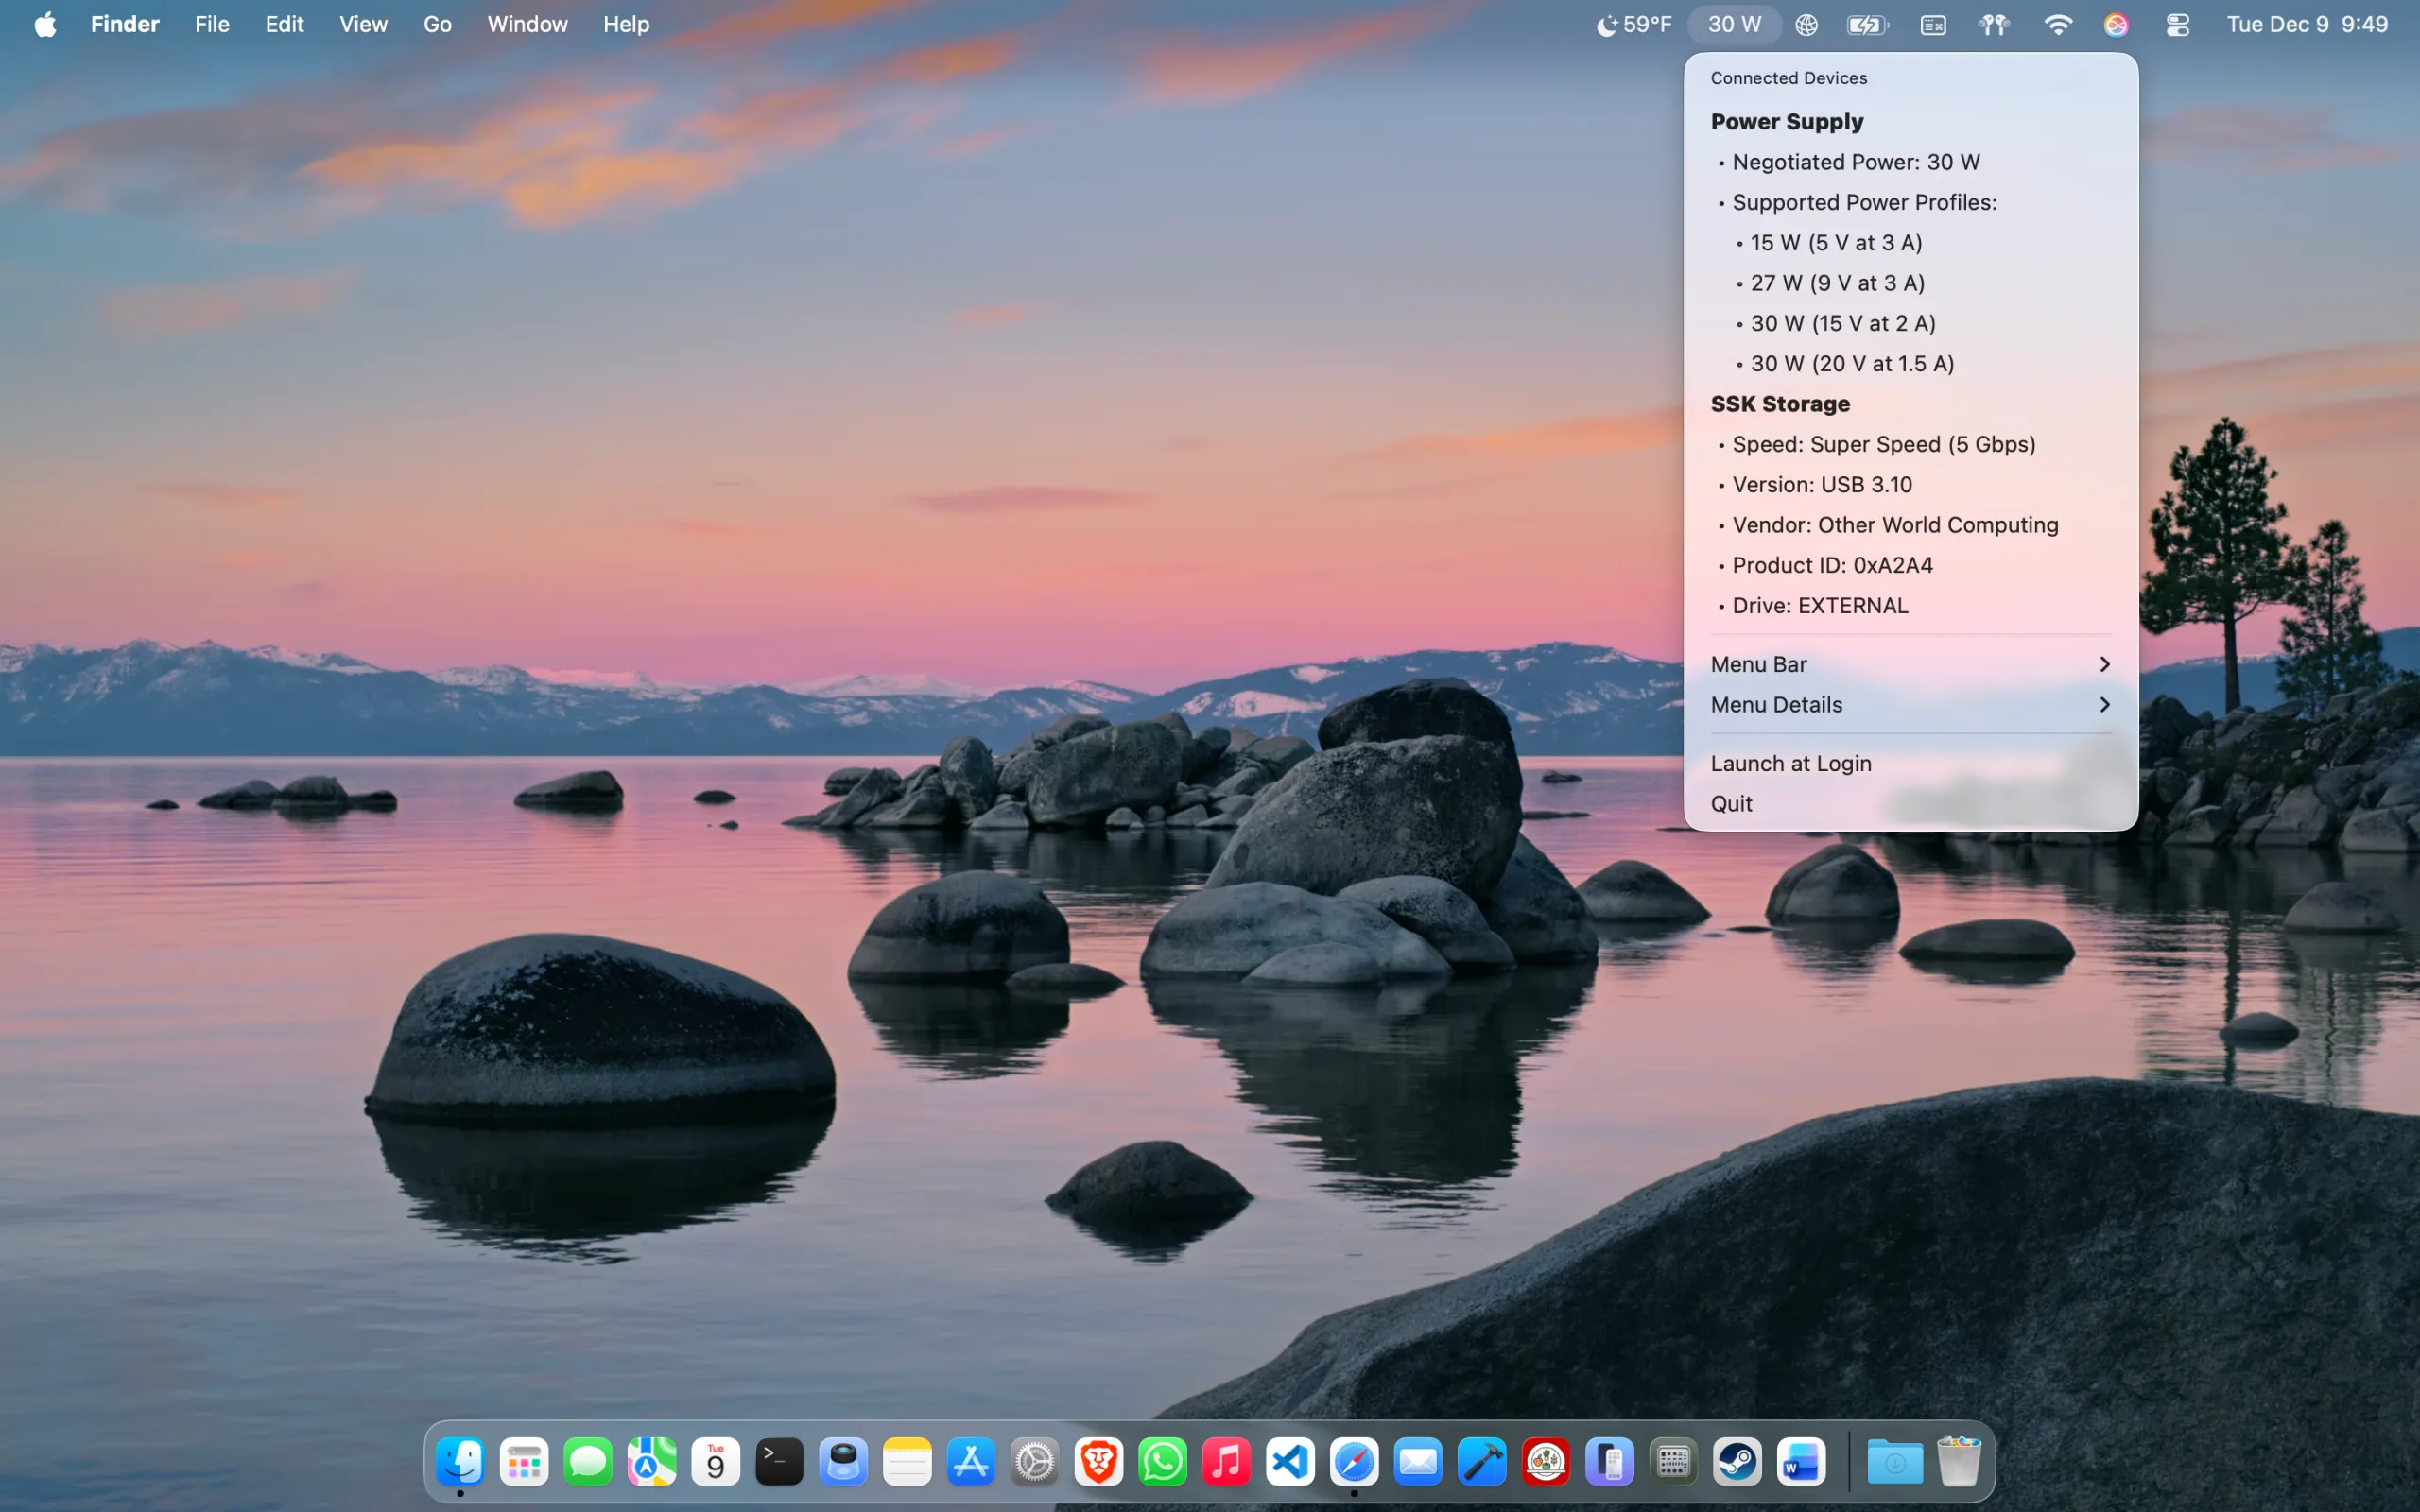
View the USB Version and Speed rating for your connection.
The Cable Detective: Plug in a cable. If the app shows “480 Mbps” for your SSD, you know that cable belongs in the “charging only” bin.
Live Wattage Tracking: Traveling with a third-party GaN charger? See exactly how many watts your Mac is negotiating in real-time.
Desktop Widgets: I’ve added new macOS widgets so you can keep your transfer speeds or charging health front and center.
Privacy First: Just like my advice on Hotel WiFi, I believe in security. This app doesn’t collect data or ping a server. It stays on your Mac.
Summary and Key-Takeaway
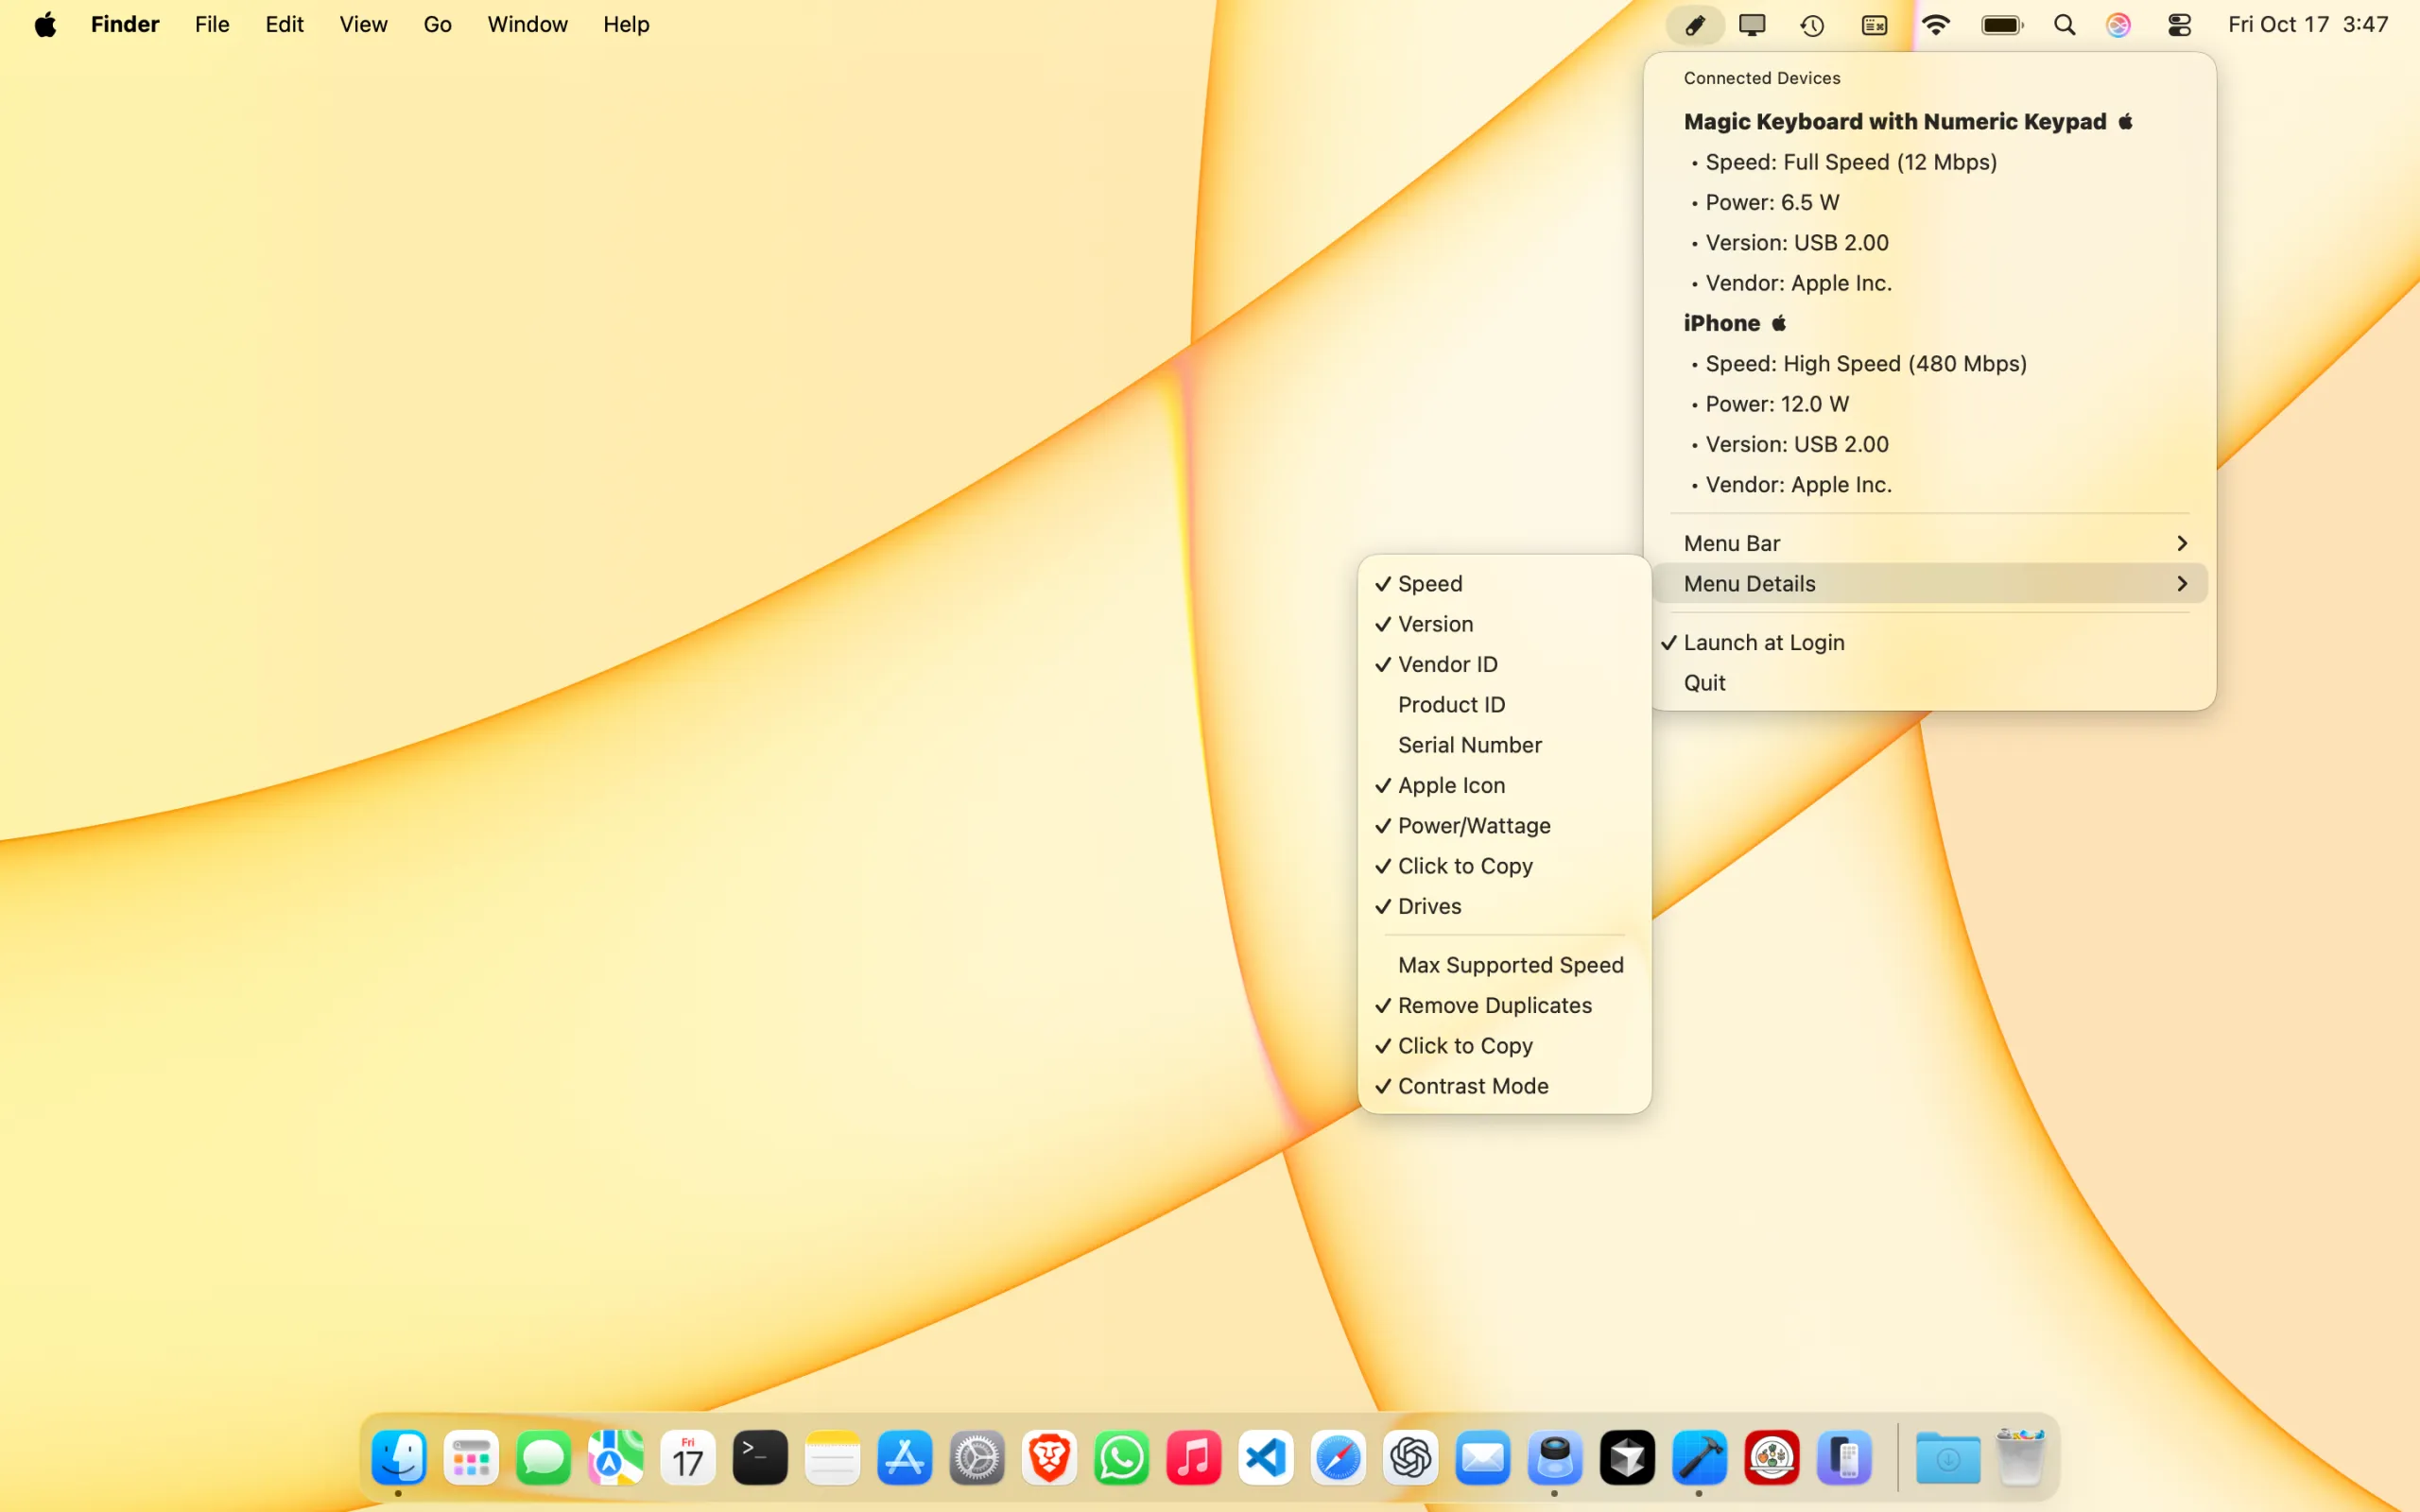
Control what you want to see for each connected USB device.
Travel is about embracing the beauty of imperfections, but your data transfer speed shouldn’t be one of them. Whether you’re a photographer offloading SD cards in a hotel room or a digital nomad optimizing your setup, you deserve to know if your hardware is performing as advertised. USB Connection Information ends the guesswork.
CLICK TO DOWNLOAD ON THE MAC APP STORE
It’s the first tool that gives you:
-
Real MacBook USB-C transfer speed at a glance
-
Reliable cable and device diagnostics
-
Live, accurate feedback without the clutter
Download from the Mac App Store and finally put your hardware to work the way it was meant to. Simply download, compare your speed to the table provided above (USB 2.0 vs USB 3.0 C cable speed), and determine if your USB cable is your bottleneck.
Example: If you plug in a ‘Pro’ SSD and my app shows 480 Mbps, you’ve found your ‘Dirt Road’ cable. It should be seeing 5 Gbps or 10 Gbps. This means you need a different USB-C cable.
Note about buying USB-C cables: I look for cables explicitly labeled 10Gbps or USB 3.2 Gen 2. Avoid anything that only mentions ‘Fast Charging’ but skips the data speed rating. Here is the super cheap and super fast USB-C cable I recommend to improve your speeds.
About the Author: Daniel Gauthier is a Software Engineer with a Master’s in Computer Science and a Graduate Certificate in Cybersecurity. He developed USB Connection Information to help people identify hardware bottlenecks and ensure their tech is fast, efficient, and secure.